Have you heard of winter sowing and wonder what all the hype is about? Let’s check out one of the fastest growing trends in home gardening.
Quite simply, winter sowing transforms plastic milk jugs, juice containers and the like into mini-greenhouses to start plants right in your own backyard. No frills, no pampering, no watering for months – fix it and forget it! This simple and inexpensive way to start seeds allows you to grow nearly any perennial or annual plant right in your own backyard while the rest of your garden sleeps.
As an Amazon Associate I earn from qualifying purchases.
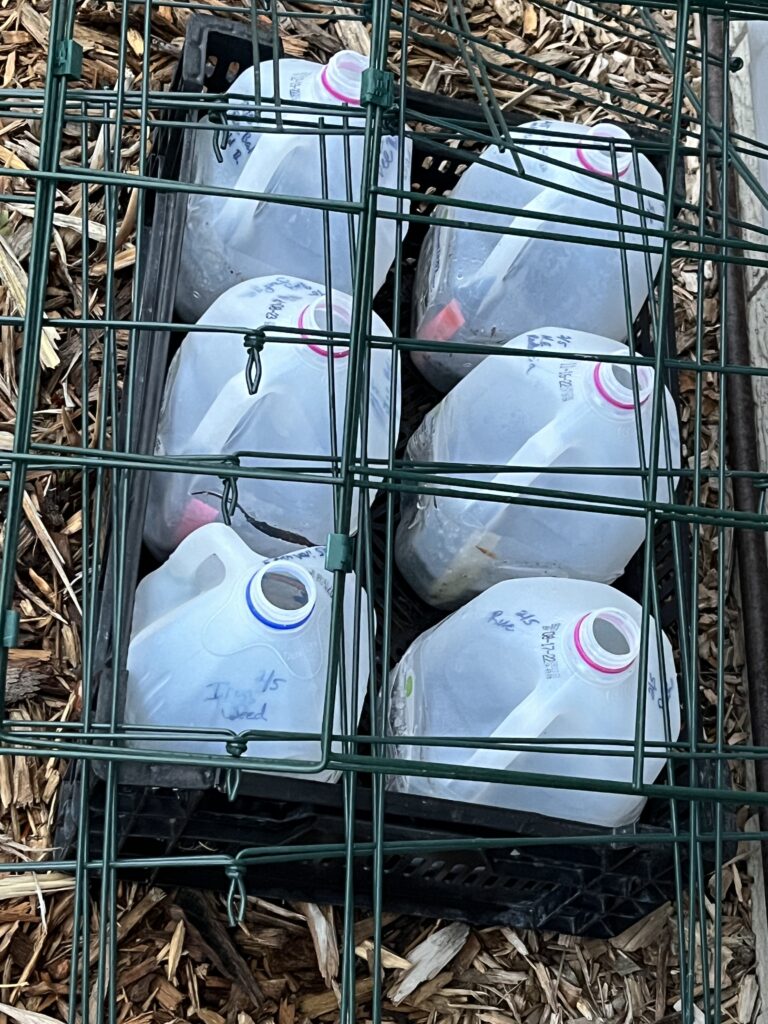
The sowing actually occurs indoors, unless you really like hanging out in the freezing cold. Once planted, you’ll place your baby greenhouses outside in a protected area where they will be exposed to all of the elements, but where they won’t blow over. I like to store my winter sown jugs in large open, unstacked sturdy milk crates which provide a little more security. Make sure the sun, rain and snow can get to the jugs. It’s ok if they get completely buried in snow for a few months. Just let them be.
Benefits
There are many advantages to winter sowing:
- Money saving – recycled materials, saved or sale-priced seeds
- Space saving – no need to find a spot indoors
- No special set up like grow lights or heat mats.
- Early jump on starting seeds
- No seed sowing schedule – the seeds will germinate when the conditions are right for them. Nature knows!
- No watering for months
- No need to harden off your plants before moving them to the garden
- An awesome additional gardening activity for you to enjoy
When and what?
Winter sowing typically begins just when we need it. In my USDA Zone 5, that means late December and January when things are gloomy and gray and I’m already dreaming of spring. A good rule of thumb is to wait until it is very cold and staying below freezing for many days. After the winter solstice, which is also the first day of winter, is the traditional first day of the winter sowing season. For me, it is so busy around this time of year, I like to get started after January 1.
If you start before this very cold period, your seeds could germinate too soon and will not survive until planting time in spring. Keeping this in mind, it’s time to experiment. Don’t overthink it. Follow these basics and dive in. With experimentation and practice, you’ll soon find what works well for your area and growing conditions.
Here’s my suggested schedule using the months before last frost. Residents in northern regions can apply this plan to their specific situations. Don’t know when your average last frost date is? Simply Google “<city>, <state> average last frost date”. There are several times throughout the winter when you can get started for the first time or add to your winter sown jugs. This schedule covers the optimal times to start your seeds based on the seed’s germination behavior.
Early Winter Sowing – 5 to 6 months before last frost – in my USDA Zone 5b garden in Iowa, that means December – January.
During this period you can sow seeds that require cold stratification to germinate. Cold stratification is the process of exposing seeds to cold and moist conditions to encourage germination. In nature, this occurs when fallen seeds overwinter underground or beneath a layer of snow.
Examples: columbine, delphinium, joe pye weed, lupine, milkweed.
Winter Sowing – 3 to 4 months before last frost – in my garden that means February – early March. Ideally, I’m on this by February 1. These cold lovers really seem to appreciate the extra chill time.
Sow cold hardy perennials, natives and annuals. Examples include perennial black-eyed susan, great blue lobelia, bee balm, phlox, poppy, purple coneflower, purple liatris along with annual pansies and snapdragons. You can also start cold season vegetables like broccoli, brussels sprouts, collards, kale, leafy greens, spinach and swiss chard plus cold season herbs like chives, dill, mint, oregano and sage.
Late Winter – Early Spring Sowing – 1 to 2 months before last frost. For me, this is mid-March to mid-April.
Now is the time when you can sow your milk jugs with tender flowers and vegetables that require consistent warmth. If the packet says “sow after danger of frost has passed” this is your time to winter sow these seeds. Examples include beans, black-eyed susan vine, cardinal vine, cosmos, cucumbers, parsley, zinnia and many more. Although I’ve heard it is possible, I do not winter sow basil, eggplant, peppers or tomatoes. They are so cold sensitive, I prefer to use transplants, grown under my grow lights or purchased from the nursery, after all danger of frost has passed.
The point is, have fun and experiment. This relatively cheap and easy way to start seeds can stretch your budget and expand your growing season. You can winter sow virtually any seed with the exception of true tropical plant seeds that cannot handle the temperature fluctuations.
Be sure to keep records of what you’re growing and when. Recordkeeping allows you to follow your progress and remind yourself what worked and what didn’t to guide your future plans.
Let’s get started!
Gather a few supplies to begin your winter sowing:
- Containers – plastic containers that are tall enough to hold a few inches of soil and have enough room for your seedlings to grow work best. They need to be translucent or clear so that light can pass through.
- Milk, juice or water jugs
- Gallon-sized white vinegar jug – the best container I’ve found for winter sowing
- 2-liter soda pop or water bottles
- Cat litter jugs
- Ice cream buckets or other food containers with lids
- Utility knife for cutting containers
- Rotary tool, soldering iron, drill with bit or a flame heated phillips screwdriver for adding holes to the bottom of containers. You can also cut holes with your utility knife.
- Spray bottle filled with water to remoisten soil if needed
- Packing tape or duct tape for sealing the cut of the container
- Alternative to tape – weatherproof twist ties allow easier opening and closing of your container.
- Soil – a good quality potting soil. Do not use seed-starting mix or moisture retaining soils. I have had good luck using soil with fertilizer built in.
- Seeds – stock up on season-end clearance sales in the fall
- Plastic seed markers
- Ink marker made for the garden – this type of marker is typically more durable than a standard permanent marker. You can also use paint pens for good durability. A standard permanent marker is not permanent and will not hold up in outdoor conditions leaving you with mystery plants and blank labels.
Step-by-step
These steps assume a milk jug container. Adjust your method depending on the container. For example, while you leave the cap off of milk, juice or vinegar jugs, you’ll keep larger lids intact pre-germination to retain moisture and protection from the cold.
- Discard the lids of jugs. You will not use the small lids for traditional jugs. The opening allows water and air to get in.
- Wash your containers in soapy water and rinse thoroughly. Disinfect them by soaking in a bleach solution of 4 teaspoons of bleach per quart or liter of water for at least one minute. Let the containers air dry completely.
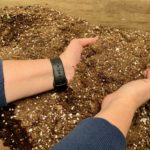
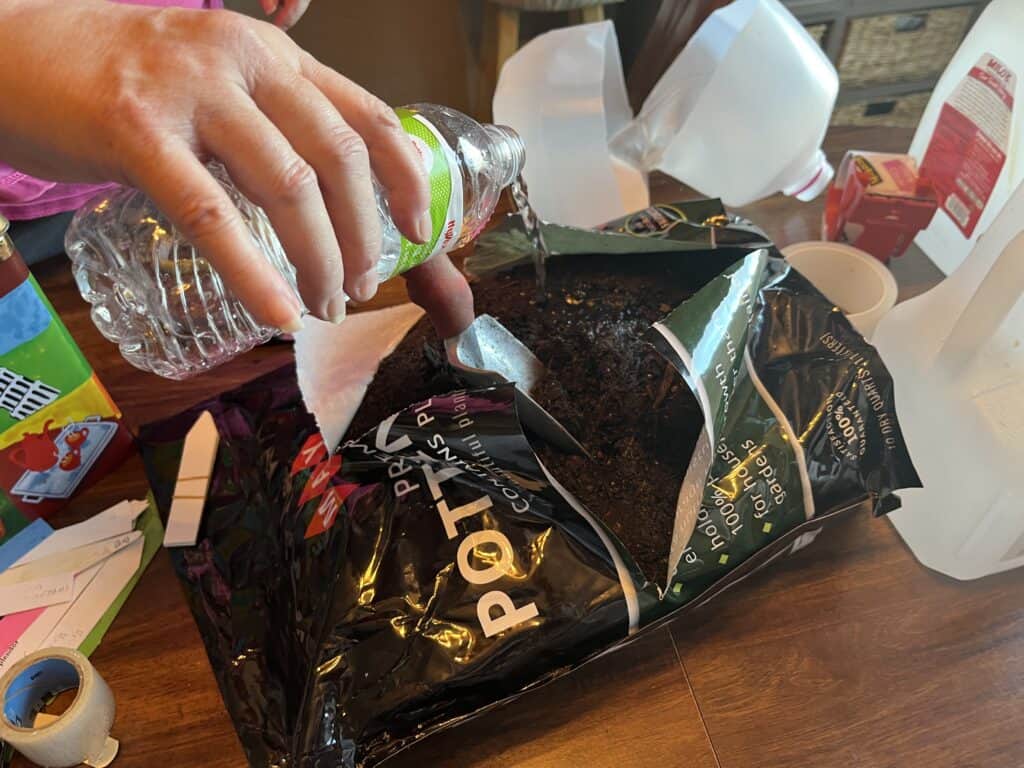
- Pre-moisten the potting mix. The soil should not be dripping wet, but should be plenty moist and hold together when you squeeze it.
- Drill plenty of drainage holes in the bottom of your container to allow excess moisture to escape. On a gallon size milk jug, I have 8 drainage holes each around ¼” in diameter.
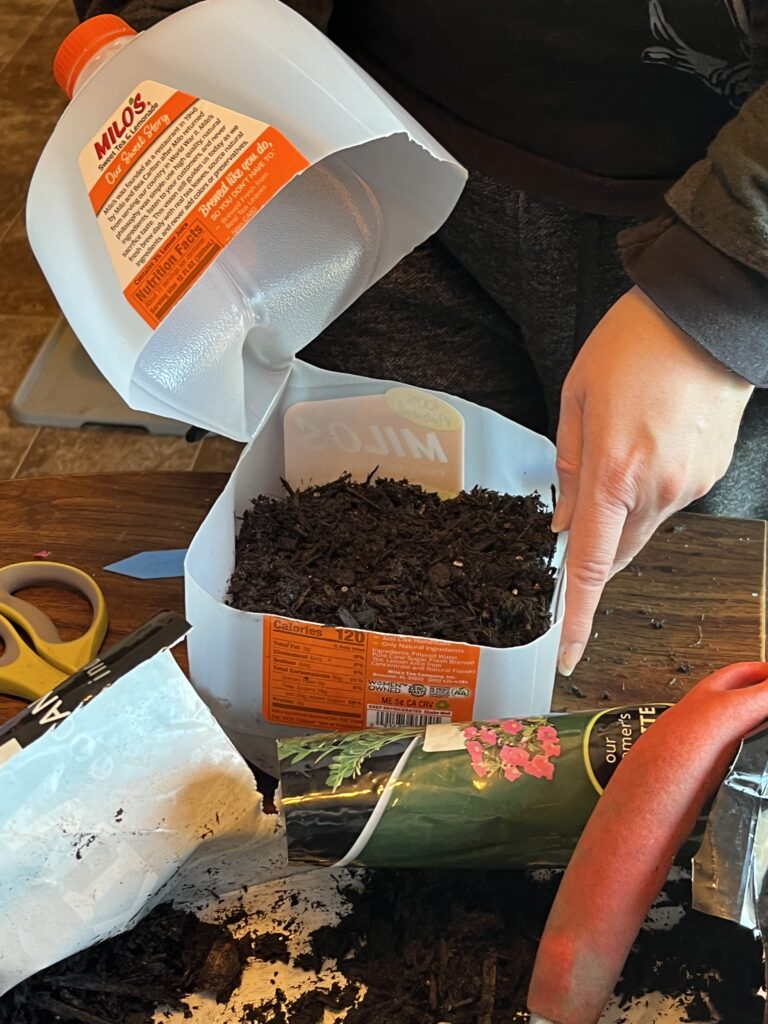
- Cut your container. Partially cut your container horizontally below the handle leaving an uncut ‘hinge’ section directly below the handle area.
- Fill your container with moist potting mix to a depth of roughly 4 inches.
- Sow seeds following seed-packet instructions, only one type of seed per jug.
- Complete your plant maker with the date planted and type of seed. Place a tag in the soil of each jug.
- Seal your jug with tape. I like clear packing tape best, but you could also use duct tape. As an alternative you can add holes to your jugs opposite from their hinge above and below your cut mark and tie your jugs shut with a weatherproof twist tie. Allow the top of your jug to come over the bottom of the jug to prevent too much water from coming in through the cut. The advantage of the twist tie over the tape is that you can more easily open your jugs to add water and open them in warm weather.
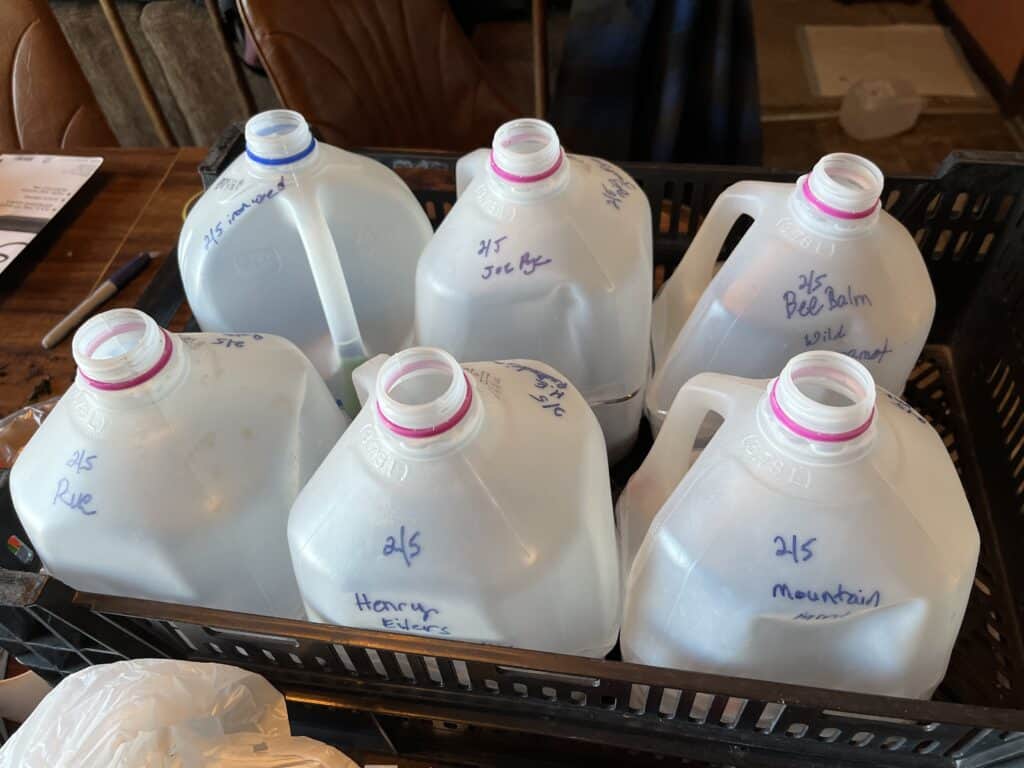
- Write the date and seed type on the outside of your jug in addition to the plant marker inside. For extra safe-guarding of your plant ID, also write the date and name on the bottom of the jug.
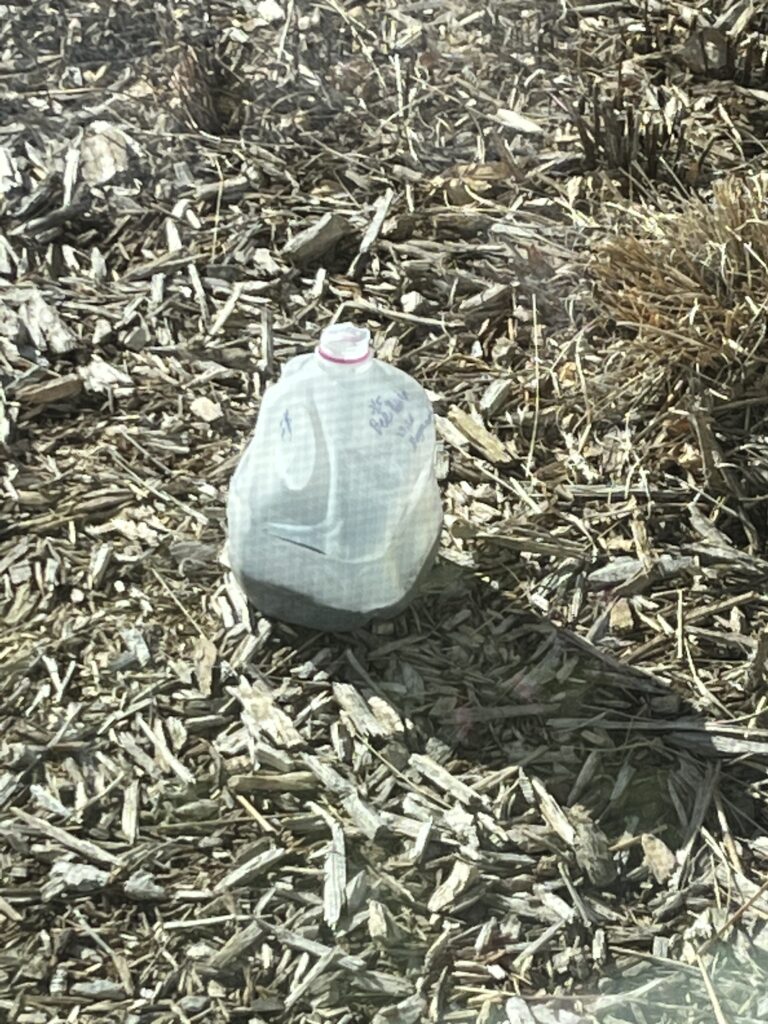
- Place your containers in a semi-protected area in full sun where they will not blow over. I sit my jugs in a milk crate to protect my jugs and make it easier to move them. If you have raised beds, this can be a great place to place your containers. You can even sink the base of your containers into your raised bed soil a few inches for more stability from the wind.
- Don’t forget to protect your container from your pets too. My Standard Poodle puppy once picked up a planted jug and placed it across the yard. Miraculously the jug didn’t open and she sat the jug neatly down unharmed! With frozen solid ground, I resorted to laying collapsed tomato cages over them for protection from my enthusiastic pup.
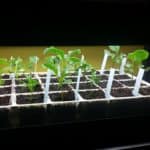
- Spring! As the temperatures start to warm, be sure to check on germination periodically.
- Water and ventilation – Once seeds have germinated they will need water occasionally. Do this by carefully opening the container and gentle watering. I use a water bottle with holes poked in the lid with a needle for this job. Water well so that water is running out of your drainage holes. On warm days when temperatures are reaching 60 degrees, open the top of the container completely to keep the air temperature around the seedlings from getting too warm. This little bit of maintenance and attention will be happening in early spring, so odds are you want to get outside anyway. Seal the container back up around the cut middle to maintain its greenhouse protective traits.
- Keep an eye on the forecast and when the seedlings are tall enough to reach the top of the container and have a root system that’s sturdy enough to hold together, they are ready to transplant into the garden.
- Hardy seedlings (cold season and perennials) can go straight into a prepared garden bed as soon as the soil can be worked.
- More delicate seedlings such as those you may have started in late-winter or early-spring can be planted after the danger of frost has passed.
- For any of your winter sown seeds, there is no need to harden them off before planting in your garden. Since they have been living in their mini-greenhouses outside, they are acclimated to the environment and ready to go. Plant at the same level your seedlines were growing in their jug. Keep well watered until established.
Congratulations! You have achieved an awesome stretch for your growing season through winter sowing! Enjoy year after year of winter sowing adventures.
SHARE IT ON PINTEREST